How to Patch and Paint Walls Like a Pro: A Step-by-Step DIY Guide
Got dents, dings or nail holes on your walls? Don’t worry—with a few tools and some simple techniques, you can patch and paint walls like a pro. Whether you’re preparing to repaint a room or just want to freshen up your walls, this guide will walk you through the process step by step.
What You’ll Need:
- Spackling compound and/or joint compound
- Putty knife
- Sandpaper or sanding sponge (120–220 grit)
- Drywall patch (for larger holes)
- Primer and paint
- Paintbrush, rollers and rolling pan
- Drop cloth and painter’s tape
- Ladder or step stool (based on height of wall)
Step 1: Prep the Area
Start by removing any loose paint or drywall around the damaged area. Lay down a drop cloth to protect your floors and any furniture in the room, and use painter’s tape to mask off trim or adjacent walls. Remove anything on or near the walls you are painting, such as switch and outlet covers, artwork, curtains and rods, and alarm sensors and cameras.
Step 2: Patch Small Holes and Dents
For nail holes or small dents, apply a small amount of spackling compound using your putty knife. Press it in firmly and smooth it out so it’s level with the wall surface. Let it dry completely—this usually takes a few hours.
Step 3: Fix Larger Holes
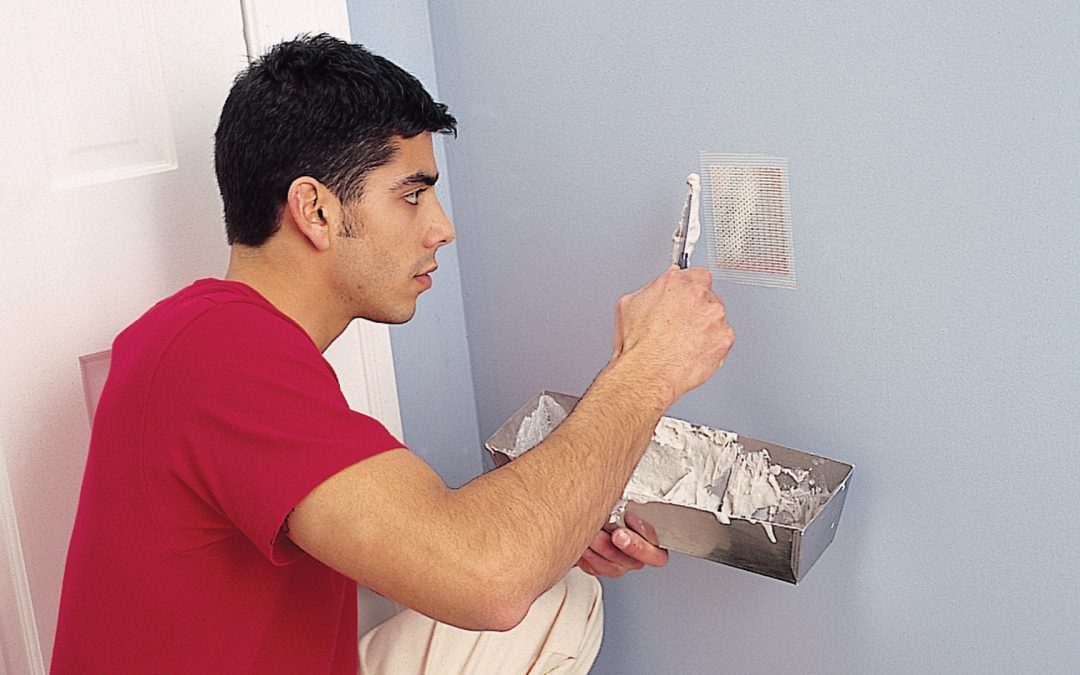
For holes bigger than a quarter, use a drywall patch. Stick the patch over the hole, then spread joint compound over the patch with your putty knife. Feather the edges so it blends into the wall. Let it dry overnight for best results.
Step 4: Sand Smooth
Once your patched areas are dry, sand them lightly until they’re smooth and flush with the surrounding wall. Wipe away dust with a damp cloth.
Step 5: Prime the Patched Area
Always prime over patched spots before painting. This ensures the paint adheres evenly and prevents dull spots. Use a small brush or roller to apply the primer and let it dry thoroughly.
Step 6: Paint Like a Pro
Now for the fun part! Use a quality brush to cut in around edges and corners, then a roller to cover the rest of the wall. Apply two thin coats of paint, letting the first coat dry before adding the second.
Depending on the type of paint you are using and the color you are covering, one coat may be enough. Let the first coat dry thoroughly and then look at the walls in good lighting to decide if a second coat is necessary.
Final Tip: Take Your Time
Good results come from careful prep. Don’t rush the drying or sanding steps—they make all the difference in a flawless finish.
Our Experts Are in Your Corner
We’re an Authorized Benjamin Moore Dealer, and the experts in the Paint Studio at your local Rocky’s Ace Hardware are trained and certified Paint Specialists. They can answer any questions you might have and recommend the tools and supplies you need to patch and paint walls like a pro. Stop by before your next project!


